 ZigBeeForDomoticZ plugin Wiki
Integration of the plugin in DomoticZ
The plugin administration interface (WebUI) is accessible at http://IP_DomoticZ:9400 (with 9440 by default), but it is also possible to integrate the WebUI directly into DomoticZ and access it via a link in the Custom Menu.
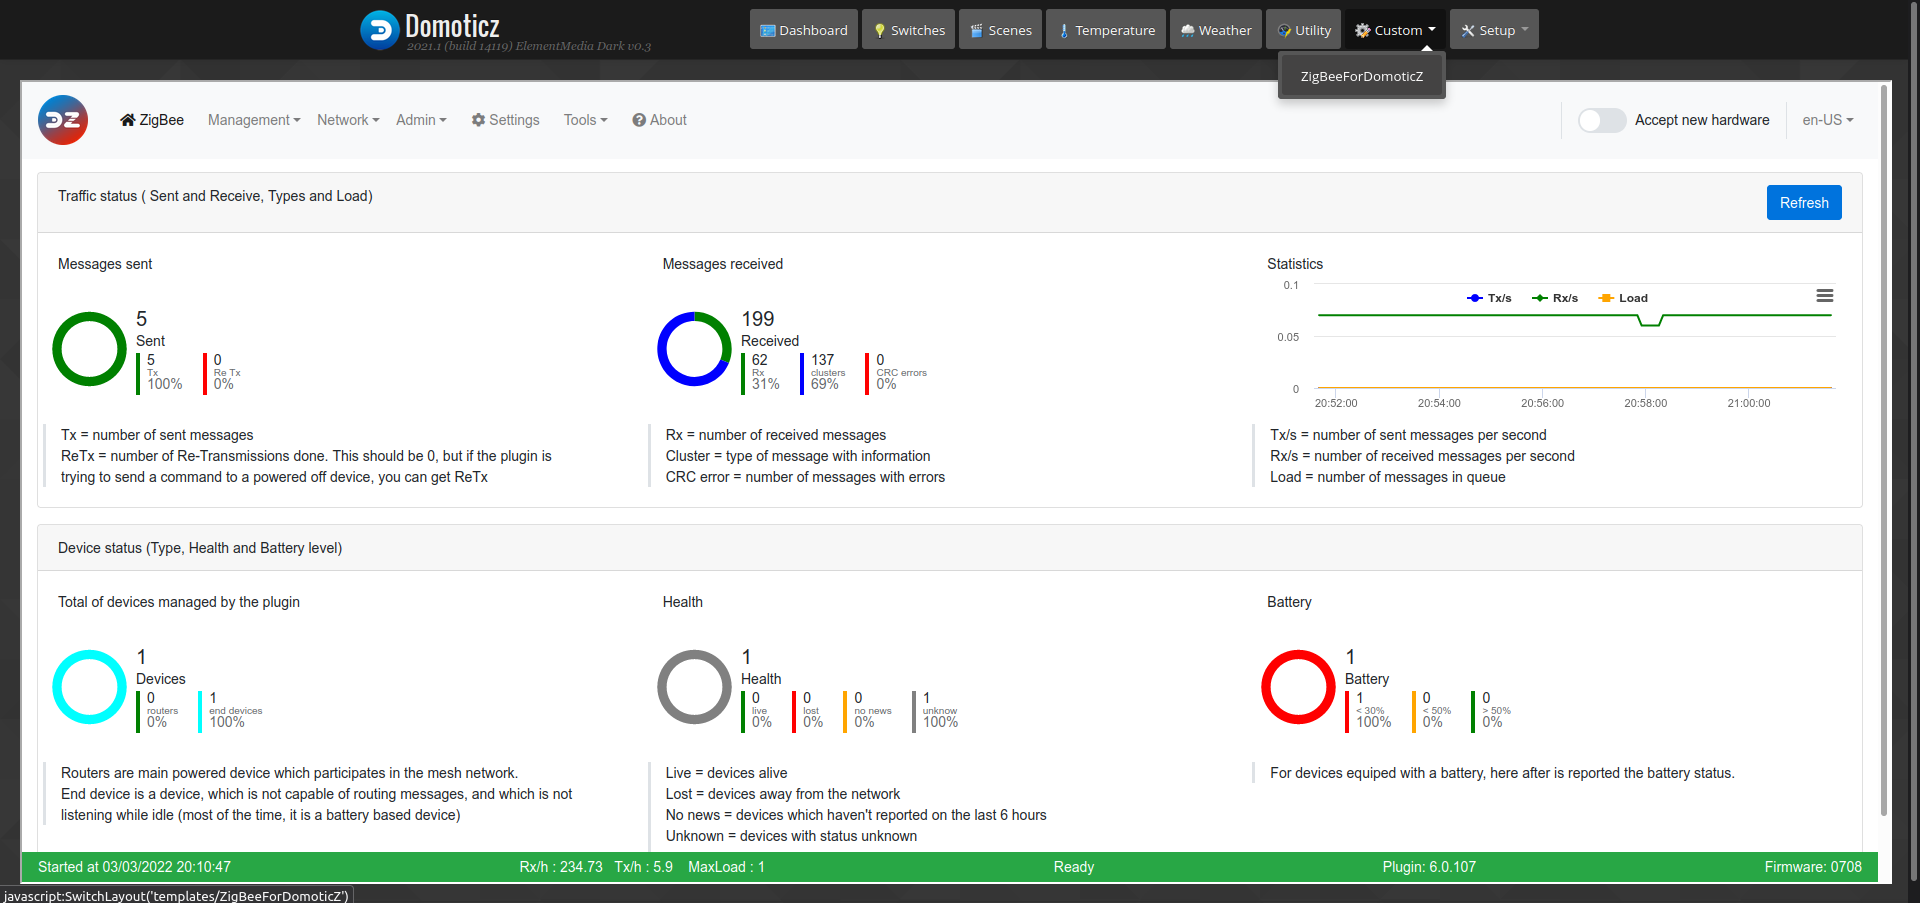 This image is likely to have evolved since writing this documentation.
Add a menu for the WebUI
-
Go to the folder domoticz/www/templates
-
Create a file ZigBeeForDomoticZ.html The file name will be used as the menu name.
-
Put the following line in the html file :
<IFRAME SRC="http://IP_DomoticZ:9440/" height="800" width="100%"></IFRAME>
Note : Do not use 127.0.0.1 or localhost if you connect to DomoticZ from a remote machine. Put the IP you use to connect to the machine hosting DomoticZ. 192.168.1.X for example.
Bonus : Add a menu for the Wiki
Since the release of version 6, the new Wiki format as a web page (WikiUI) is also available in DomoticZ as the WebUI.
-
Go to the folder domoticz/www/templates
-
Create a file Wiki plugin Z4D.html The file name will be used as the menu name.
-
Put the following line in the html file :
<IFRAME SRC="https://zigbeefordomoticz.github.io/wiki/en-eng" height="800" width="100%"></IFRAME>
You will have access to the EN page of the wiki directly from DomoticZ :
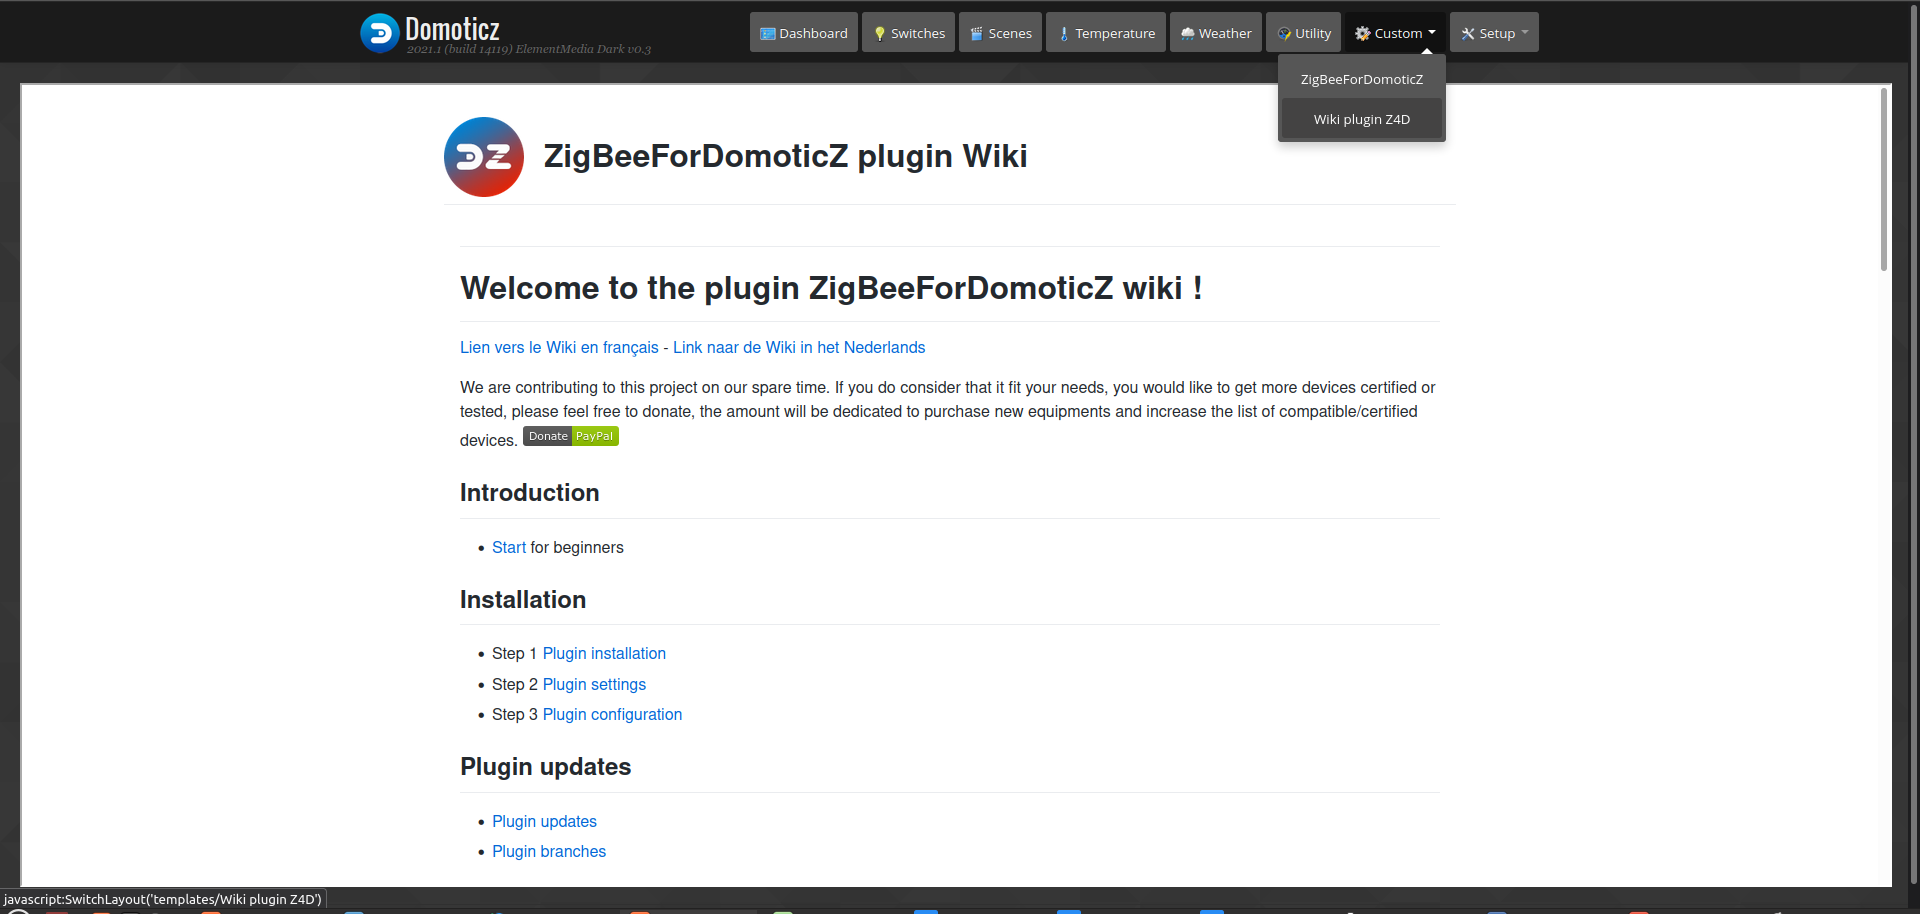 This image is likely to have evolved since writing this documentation.
Thanks to waltervl for sharing this info with us.
Integration of the plugin in DomoticZ
The plugin administration interface (WebUI) is accessible at http://IP_DomoticZ:9400 (with 9440 by default), but it is also possible to integrate the WebUI directly into DomoticZ and access it via a link in the Custom Menu.
This image is likely to have evolved since writing this documentation.
Add a menu for the WebUI
-
Go to the folder domoticz/www/templates
-
Create a file ZigBeeForDomoticZ.html The file name will be used as the menu name.
-
Put the following line in the html file :
<IFRAME SRC="http://IP_DomoticZ:9440/" height="800" width="100%"></IFRAME>
Note : Do not use 127.0.0.1 or localhost if you connect to DomoticZ from a remote machine. Put the IP you use to connect to the machine hosting DomoticZ. 192.168.1.X for example.
Bonus : Add a menu for the Wiki
Since the release of version 6, the new Wiki format as a web page (WikiUI) is also available in DomoticZ as the WebUI.
-
Go to the folder domoticz/www/templates
-
Create a file Wiki plugin Z4D.html The file name will be used as the menu name.
-
Put the following line in the html file :
<IFRAME SRC="https://zigbeefordomoticz.github.io/wiki/en-eng" height="800" width="100%"></IFRAME>
You will have access to the EN page of the wiki directly from DomoticZ :
This image is likely to have evolved since writing this documentation.
Thanks to waltervl for sharing this info with us.